Integrating a Zoom meeting into Brightcove Live
The Brightcove Live Zoom integration allows to you to broadcast Zoom meetings easily using Brightcove Live.
Prerequisites
In the Zoom Marketplace
Zoom integration with Brightcove Live is managed by the Brightcove Live Connect app in the Zoom Marketplace. It is an account-level app intended for use by licensed Owner or Admin-level Zoom accounts. Please ensure your Zoom account has the correct privileges to support the integration.
In Brightcove Video Cloud
Before starting an integration, you must have a custom metadata field to track whether an event is streaming from Zoom. This will track the state of the integration between sessions, i.e., if an event is currently linked to a Zoom meeting.
- Login to Studio.
- In the primary navigation, click Admin > Video Fields.
- Click .
- Enter a Display Name for your custom metadata field.
- For the Internal Name field, you should use: bc_meeting_id
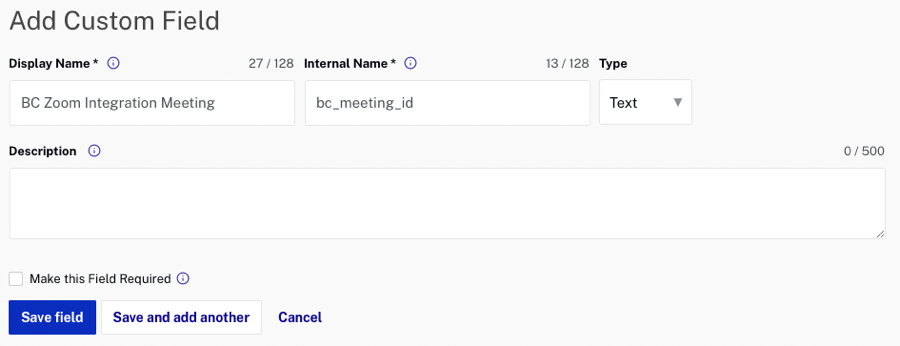
- For the Type, select Text.
- (Optional) Enter a Description for the custom field.
- Click .
Best Practices
For best results, please follow the directions below.
- Use the Start and Stop Broadcasting buttons in the control room rather than the host Zoom player.
- Avoid streaming multiple Zoom meetings at the same time under a single account.
Creating a Zoom meeting
- First, access your Zoom account, and create a Zoom meeting. For information on how to create a Zoom meeting, please follow the Zoom documentation.
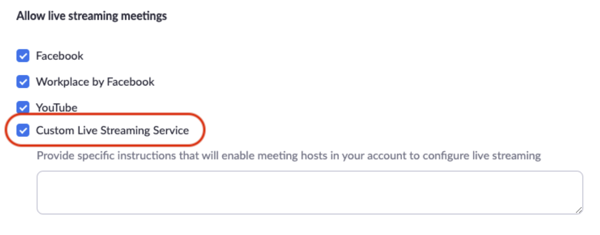
- In Zoom, go to Settings > Meeting (Advanced) > live streaming meetings.
- Make sure your Zoom account settings have the Custom Live Streaming Service enabled.
Integrating a Zoom account with Brightcove Live
To integrate a Zoom account with Brightcove Live, follow these steps:
- Login to Studio.
- In the primary navigation, click Admin > Integrations.
- Select the Integrations option from the dropdown menu.
- Click the Add Integration button to link one or more Zoom accounts to your Brightcove account.
- A pop-up window requesting access to your Zoom account will appear. Click the Authorize button.
- Provide your Zoom credentials to integrate the account.
Adding the Zoom integration to a Brightcove Live event
To add the Zoom integration to Brightcove Live event, follow these steps:
- In Studio, open the Live module.
- Click on the Live Manage Events page. For complete information on how to create a Live event, please review the Creating and Managing Live Events using the Live Module documentation.
- Fill in the Live event details as usual.
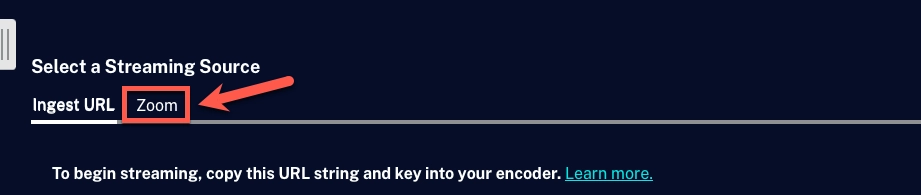
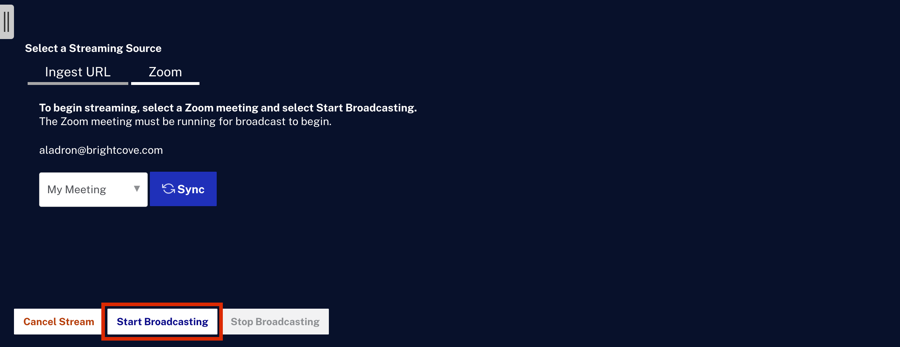
- Once the event is created, Click Zoom.
- Click
- Select your meeting. In this example, My Meeting.
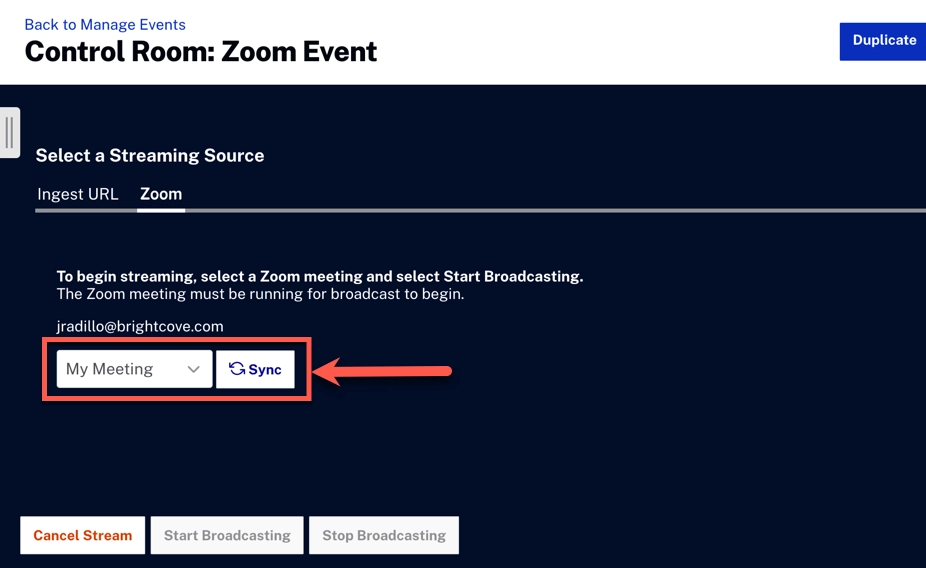
- If your Zoom meeting was recently created, try syncing with Zoom again using the Sync button.
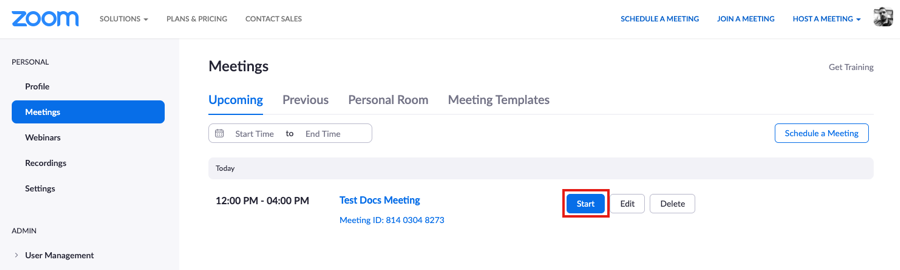
- Return to your Zoom meeting account.
- Click the blue Start button to start your meeting.
- Back in the Live Control Room, click the Start Broadcasting button.
- After the last step, you will be able to see your Zoom Meeting in the Control Room.
Uninstalling the Zoom Integration
Removing the integration
To remove the Zoom integrations from your account:
- Log in to Studio.
- In the primary navigation, click Admin > Integrations.
- Click the Trash icon.
- When asked to confirm, click the Confirm button.
To remove Brightcove Live Connect from your Zoom account
You can completely remove the Brightcove Live Connect app from your Zoom account by connecting to Zoom:
- Login to your Zoom Account and navigate to the Zoom App Marketplace.
- Click Manage > Installed Apps or search for the Brightcove app.
- Click the Brightcove app.
- Click Uninstall.